How to Do Professional Electrical Wiring for 240V and 480V 3-Phase Quincy Air Compressors in Yorba Linda, Anaheim, Tustin, Fullerton, Brea, Orange, Santa Ana, Placentia
When wiring air compressors, such as those from Quincy, for 240V and 480V 3-phase power, it's crucial to follow a methodical approach to ensure safety, compliance with electrical codes, and optimal machine performance. This guide provides a comprehensive overview of the steps involved in professional electrical wiring for air compressors, covering essential aspects from understanding power requirements to ensuring compliance and safety.
- Understanding the Power Requirements
Before starting any wiring project, it's essential to understand the specific power requirements of your air compressor. Quincy air compressors, known for their efficiency and reliability, may require either 240V or 480V 3-phase power depending on the model and configuration. Check the machine's nameplate and manual for detailed information on voltage and phase requirements.
- Selecting the Right Air Compressor
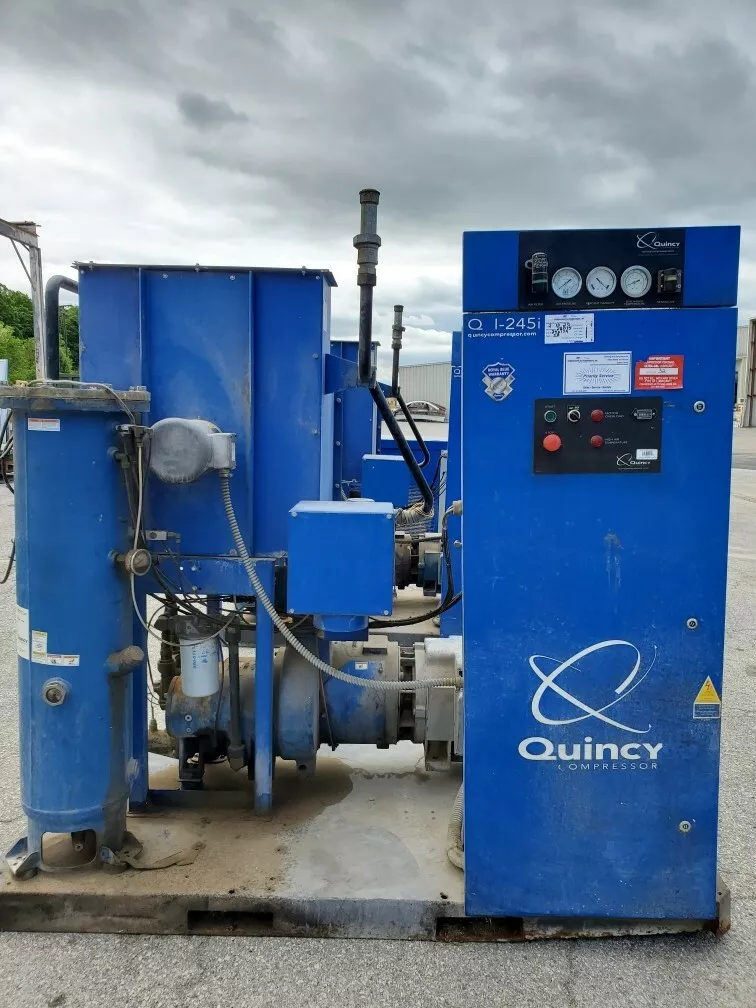
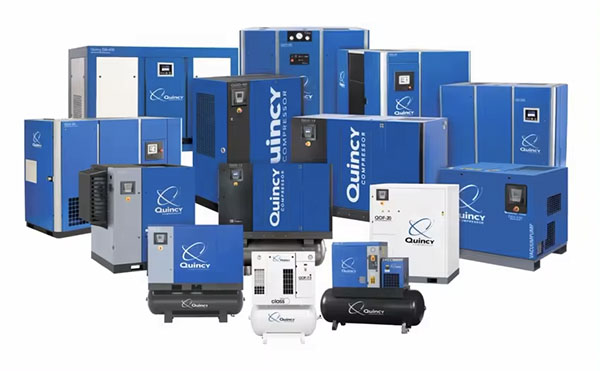
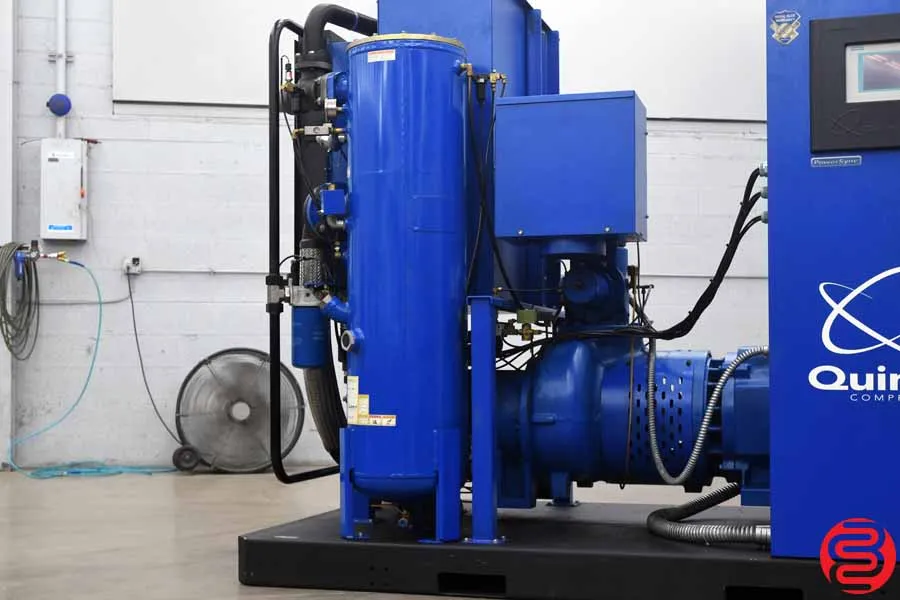
Air compressors like rotary screw compressors, reciprocating compressors, and centrifugal compressors have different power needs and applications. For instance, rotary screw compressors are widely used in industrial applications for their efficiency and continuous operation capabilities. Ensure you choose the right type of air compressor for your specific application in Yorba Linda, Anaheim, Tustin, Fullerton, Brea, Orange, Santa Ana, Placentia.
- Preparing for Installation
- Tools and Safety Gear: Gather all necessary tools and safety gear, including insulated screwdrivers, wire strippers, a multimeter, and personal protective equipment (PPE). Proper preparation is crucial to ensure a safe and efficient installation process.
- Power Shutoff: Ensure the main power supply is turned off to avoid any electrical hazards. This step is vital to prevent accidents and ensure the safety of the installation team.
- Site Assessment: Evaluate the installation site to ensure it meets all requirements for ventilation, accessibility, and environmental conditions. This helps in preventing operational issues and ensuring longevity of the equipment.
- Wiring Steps
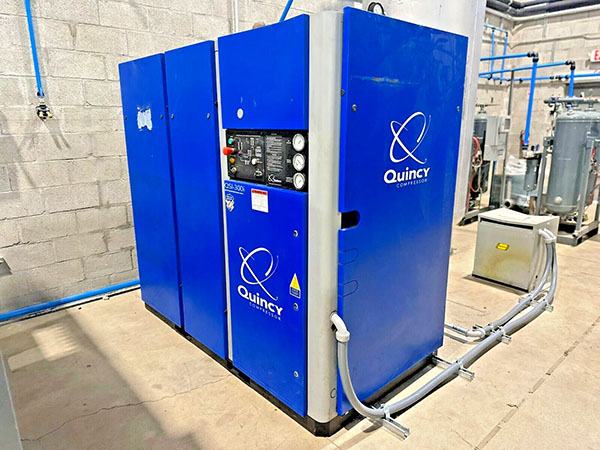
- Mount the Air Compressor: Position your air compressor in a suitable location that allows easy access to the power supply and adequate ventilation. Ensure the machine is securely mounted to prevent any movement during operation. Proper mounting is crucial to minimize vibrations and ensure stable operation.
- Running Conduit: Use appropriate conduit to run wires from the main power source to the air compressor. This helps in protecting the wires from physical damage and ensures a neat installation. Conduit should be chosen based on the environmental conditions and compliance with local electrical codes. Consider using flexible conduit in areas where movement or vibrations may occur.
- Connecting Wires:
- 240V 3-Phase Wiring:
- Typically involves three hot wires (L1, L2, L3) and a ground wire.
- Connect L1, L2, and L3 to the corresponding terminals on the air compressor.
- Connect the ground wire to the machine's grounding terminal. Proper grounding is essential to ensure safety and prevent electrical shocks.
- 480V 3-Phase Wiring:
- Similar to 240V but with a higher voltage rating.
- Ensure you use wires rated for 480V applications.
- Follow the same steps for connecting L1, L2, L3, and ground. Double-check the wire ratings and insulation to ensure they are suitable for 480V. Using wires with the appropriate insulation helps prevent electrical faults.
- 240V 3-Phase Wiring:
- Verification:
- Use a multimeter to verify that the voltage at the machine terminals matches the required 240V or 480V 3-phase power. Proper verification helps in identifying any discrepancies in the voltage levels.
- Double-check all connections to ensure there are no loose wires. Loose connections can lead to electrical faults and machine malfunctions. Regularly inspecting connections ensures consistent performance.
- Powering Up:
- Once all connections are secure, turn on the main power supply.
- Power up the air compressor and monitor its startup process for any irregularities. Observing the startup process helps in detecting any initial issues that may need addressing. Allow the compressor to run through its initial cycles while monitoring for any unusual noises or vibrations.
- Testing and Calibration
- After wiring, perform a thorough testing and calibration of the air compressor to ensure it operates correctly. Testing involves running the machine through its various functions and ensuring all movements are accurate.
- Check all operational parameters, pressure settings, and safety interlocks to confirm proper operation. Calibration ensures that the machine performs tasks with the required precision and efficiency. Documenting calibration results helps in future maintenance and troubleshooting.
- Compliance and Safety Checks
- Ensure that the installation complies with local electrical codes and standards. Adherence to codes ensures legal compliance and safety.
- Regularly inspect the wiring and connections for any signs of wear or damage. Periodic inspections help in maintaining the integrity of the electrical system and preventing potential hazards. Implementing a maintenance schedule helps in early detection of potential issues.
Conclusion
Wiring an air compressor for 240V and 480V 3-phase power involves careful planning and execution. By following these steps, you can ensure a professional and safe installation for Quincy Air Compressors air compressors in Yorba Linda, Anaheim, Tustin, Fullerton, Brea, Orange, Santa Ana, Placentia. This approach helps in maximizing the machine's efficiency and longevity while maintaining safety standards.
For professional electrical services, contact CZ Electric at 714-264-3206 or email cz_electric@msn.com. For more information, visit CZ Electric.
Take a look at our other Air compressor electrical installation how-to guides and the full list of our Orange County commercial and industrial electrical services


